To ensure the best results, we ask that you prepare your kitchen as follows:
Empty all cupboards and drawers.
Clear worktops of appliances and items
Remove any fragile items from the area.
Can You Use The Kitchen During Spraying?
While we are working, the kitchen cannot be used. We recommend arranging alternative cooking options until the work is completed. Once the spraying is finished and the surfaces are dry, the kitchen will be ready for use again.
Step-by-Step Process
Professional preparation. Precision spraying. Flawless finish.
01
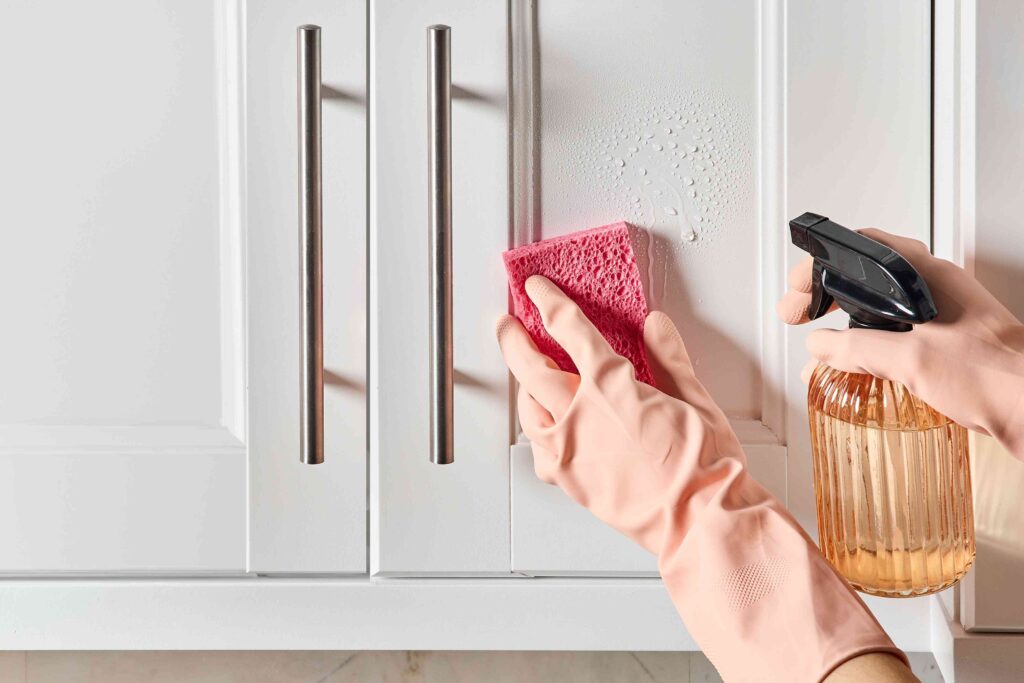
Degreasing
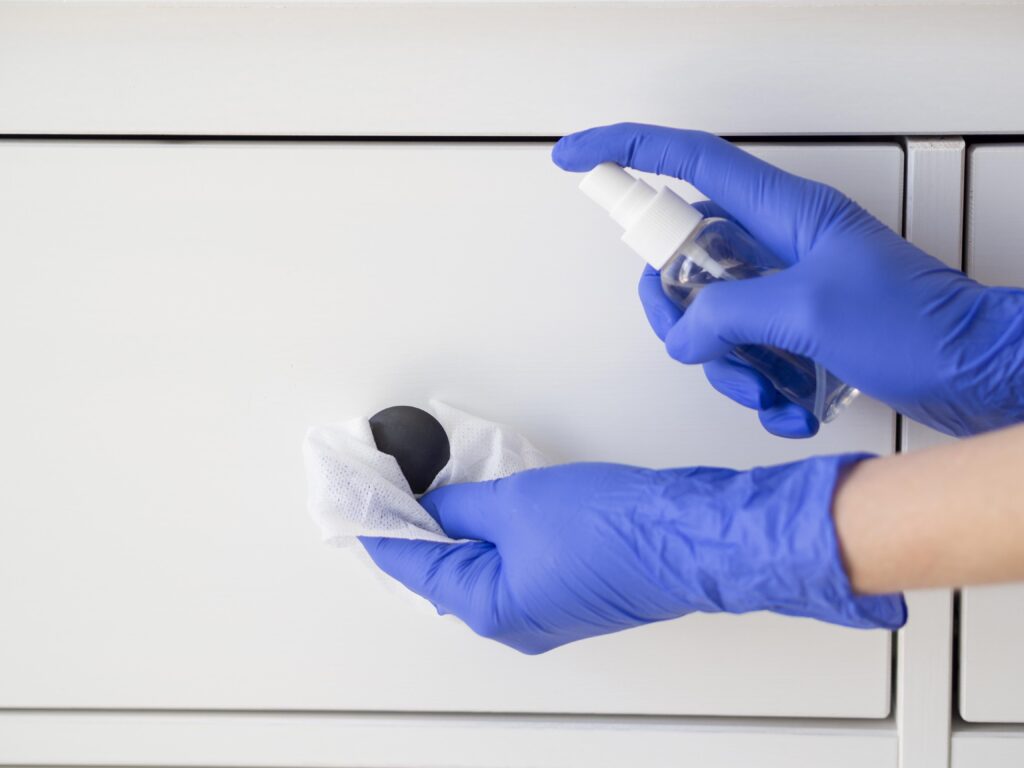
Before any spraying begins, all fixed kitchen units that cannot be removed are thoroughly cleaned and degreased. This ensures proper adhesion of the paint and helps achieve a smooth finish.
02
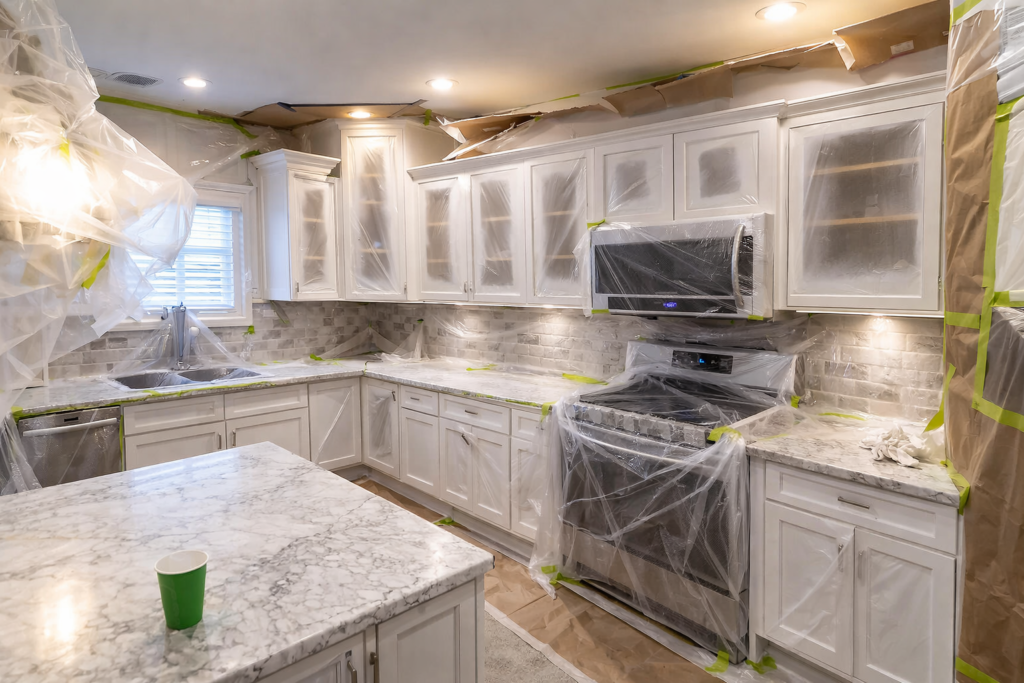
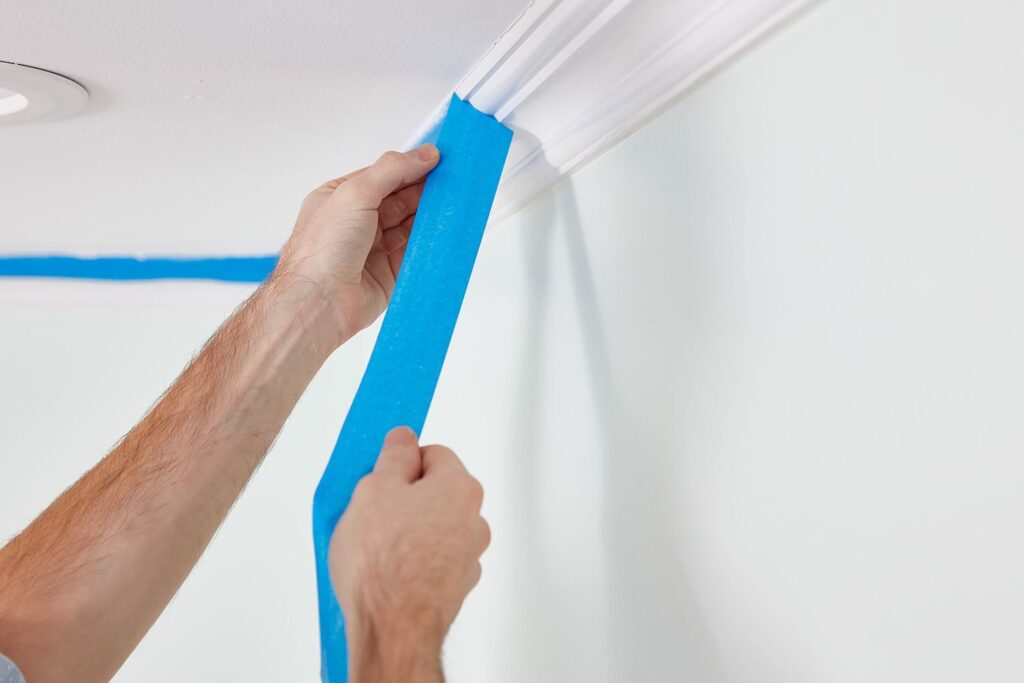
Masking & Taping
We protect all adjacent surfaces like walls, appliances, ceilings, and floors by carefully taping and covering them. This step prevents any overspray or damage to areas that aren’t being sprayed.
03
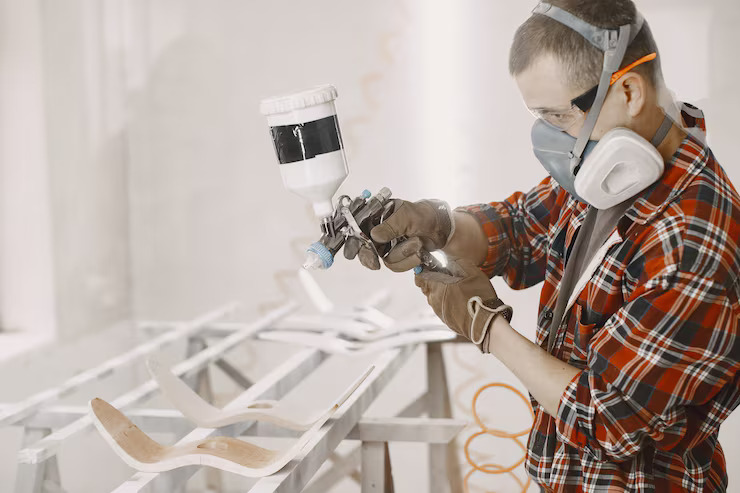
Spraying
Using professional spray equipment, we apply specialist furniture-grade coatings to your cabinets, achieving a smooth, flawless factory finish. We ensure the highest standards for every detail of the job.
04
Demasking
Once the paint has dried, we carefully remove all masking materials, leaving behind perfectly sprayed surfaces. We conduct a thorough inspection to make sure everything meets our high-quality standards.
05
Aftercare
The paint will take at least 7 days to fully harden. During this time, we recommend avoiding harsh cleaning products or scrubbing.
06
Maintenance & Care
Clean with a mild detergent and soft microfibre cloth — avoid abrasive cleaners. Dry surfaces thoroughly after cleaning and use heat-resistant mats near hot cookware. Touch up any chips with matching paint to keep your finish looking flawless.
What should you do to get ready for a respray?
Follow these simple steps before our team arrives to ensure a smooth, high-quality finish.
Be present on the day
Please ensure you are in attendance on the date(s) of the kitchen spray to allow our team access to your property.
Hoover & clean surfaces
Hoover thoroughly — especially on top of cabinets — then wipe down with mild soapy water to remove all grease and grime.
Prepare food & drinks
The kitchen won't be usable during the spray. Make sure you have snacks and drinks ready — the process is quicker than a full replacement!
Clear cupboards & worktops
Remove everything from kitchen cupboards, drawers, and the worktop. Move appliances if side panels need spraying.
Prepare new handle holes
If changing to different-sized handles, fill old holes, sand them smooth, and drill new holes prior to our team's arrival.
Leave for 24 hours after
Once spraying is complete, avoid touching any sprayed surfaces for at least 24 hours to allow the paint to fully cure.
Final touches — what our team does after
Remove all protective film from floors and surfaces.
Take down all masking from ceilings, walls, and worktops.
Reattach all kitchen handles (unless you have instructed us otherwise).
Important Aftercare Instructions (First 7 Days):
Once the 7-day curing period is complete, the coating will be fully set, and you can resume normal cleaning.
Avoid using any chemical cleaners – These can damage the finish of the painted surfaces, so it’s best to refrain from using them during the curing period.
Do not scrub the surfaces – Scrubbing can cause scratches and affect the smooth finish, so gentle cleaning is advised.
Only use warm water and a soft cloth –Use a soft cloth dampened with warm water to clean, ensuring the finish is maintained.